Homemade Guava Ice Cream – Easy Creamy Recipe
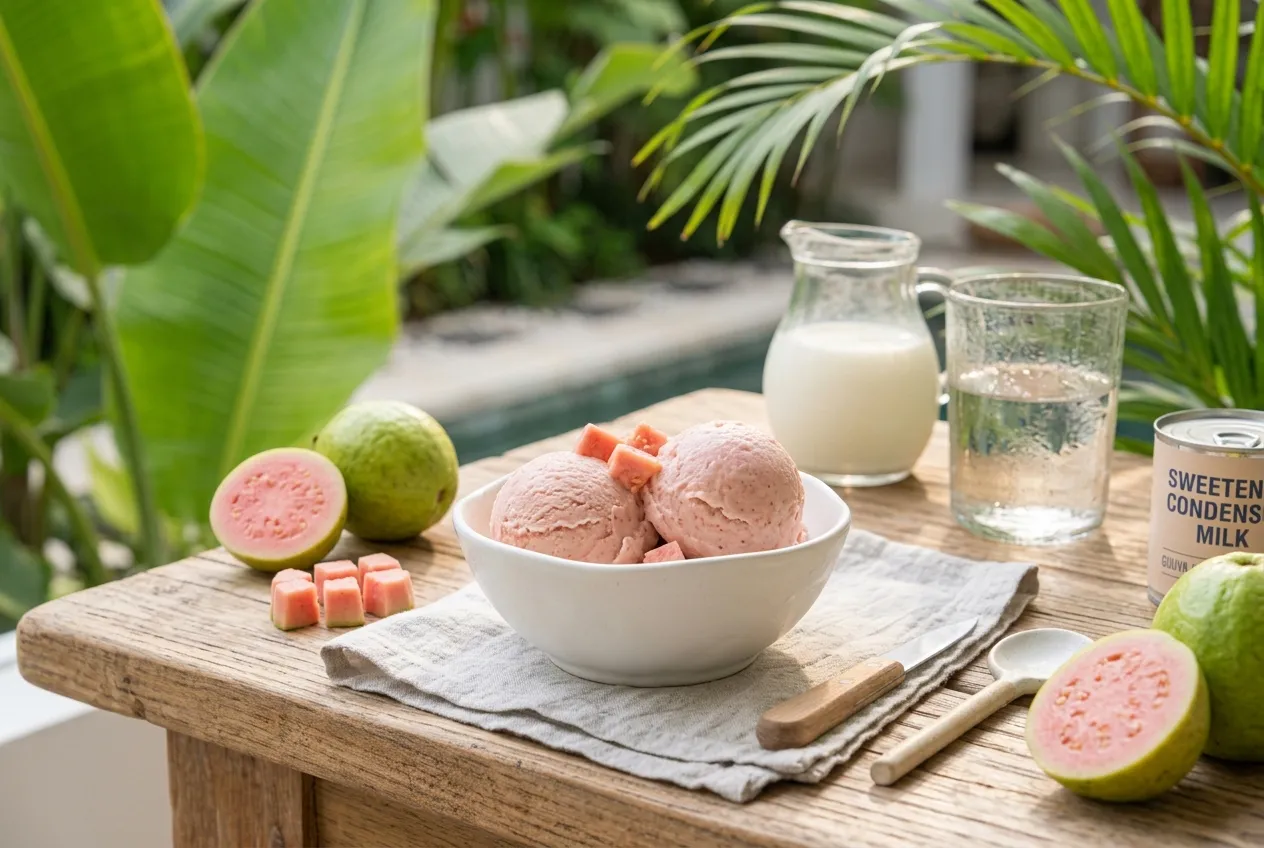
When fresh guavas are plentiful, making homemade guava ice cream is a delicious way to use them. This easy frozen dessert combines ripe guavas with sweetened condensed milk, fresh cream, and milk to create a smooth, creamy treat with a fresh tropical fruit flavor.
You don’t need an ice cream maker for this recipe. Everything starts in a blender, and a simple second whipping step helps create a lighter and creamier texture. After a few hours in the freezer, you’ll have homemade guava ice cream that’s perfect for warm summer days or whenever you have extra ripe guavas to use.
Why You’ll Love This Guava Ice Cream
- Easy to make: The mixture comes together in a blender.
- No ice cream maker required: You only need a blender, mixer, and freezer.
- Fresh fruit flavor: Ripe guavas give the ice cream a naturally fruity taste.
- Creamy texture: Condensed milk and fresh cream make this dessert rich and smooth.
- Simple ingredients: You only need four main ingredients.
Ingredients
For the Guava Ice Cream
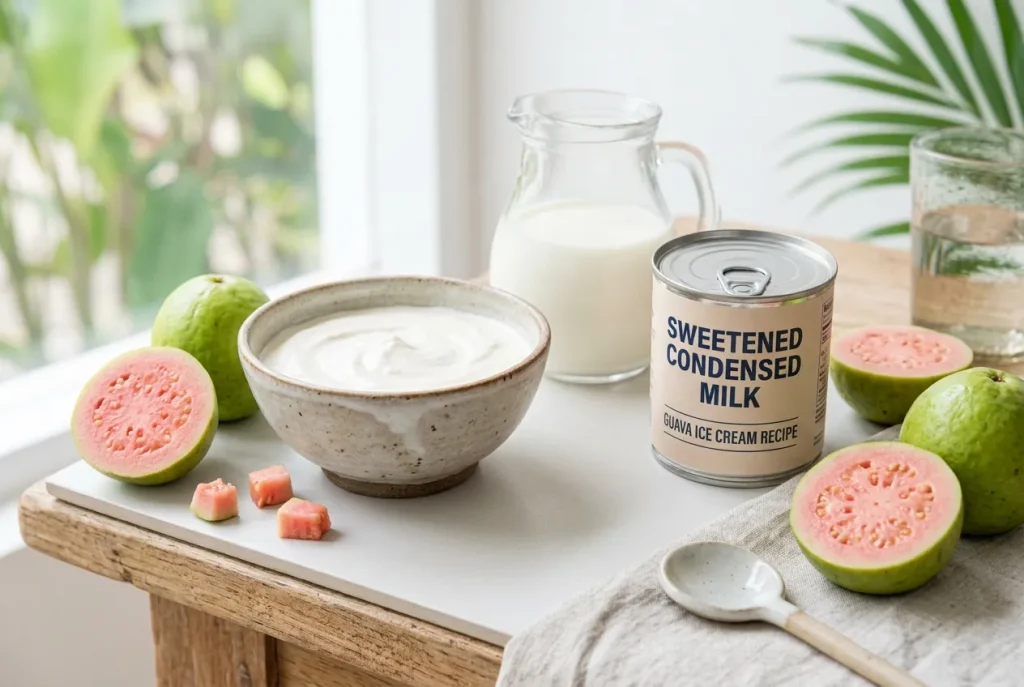
- 4 medium ripe guavas, peeled and chopped
- 1 can sweetened condensed milk (395 g or about 320 ml)
- 300 g fresh cream
- 250 ml milk
How to Make Homemade Guava Ice Cream
1. Prepare the Guavas
Wash and peel the guavas, then cut them into small pieces. Remove any damaged or hard parts.
2. Blend the Ingredients
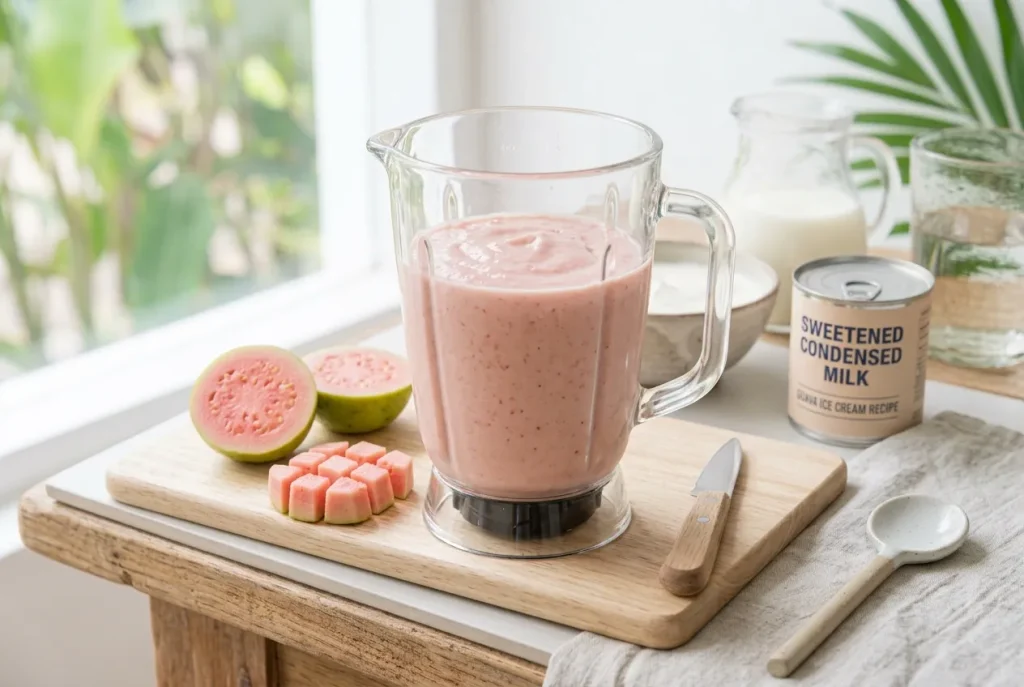
Place the chopped guavas, condensed milk, fresh cream, and milk in a blender.
Blend until the mixture is smooth and well combined.
3. Strain the Mixture
Pour the blended mixture through a fine-mesh strainer into a bowl or container.
Straining removes the guava seeds and gives the ice cream a smoother texture.
4. Freeze the First Time
Transfer the strained mixture to a freezer-safe container and cover it with a lid.
Place it in the freezer for about 2 hours, or until the mixture is completely frozen.
5. Beat the Frozen Mixture
Remove the frozen mixture from the freezer and transfer it to a large mixing bowl.
Using an electric mixer, beat the mixture for about 2 minutes, gradually increasing the speed.
Continue beating for another 4 minutes until the mixture becomes lighter and creamy.
6. Freeze Again
Transfer the whipped mixture back into the freezer-safe container.
Cover and freeze for another 1 hour, or until the ice cream is firm and scoopable.
7. Serve homemade guava ice cream
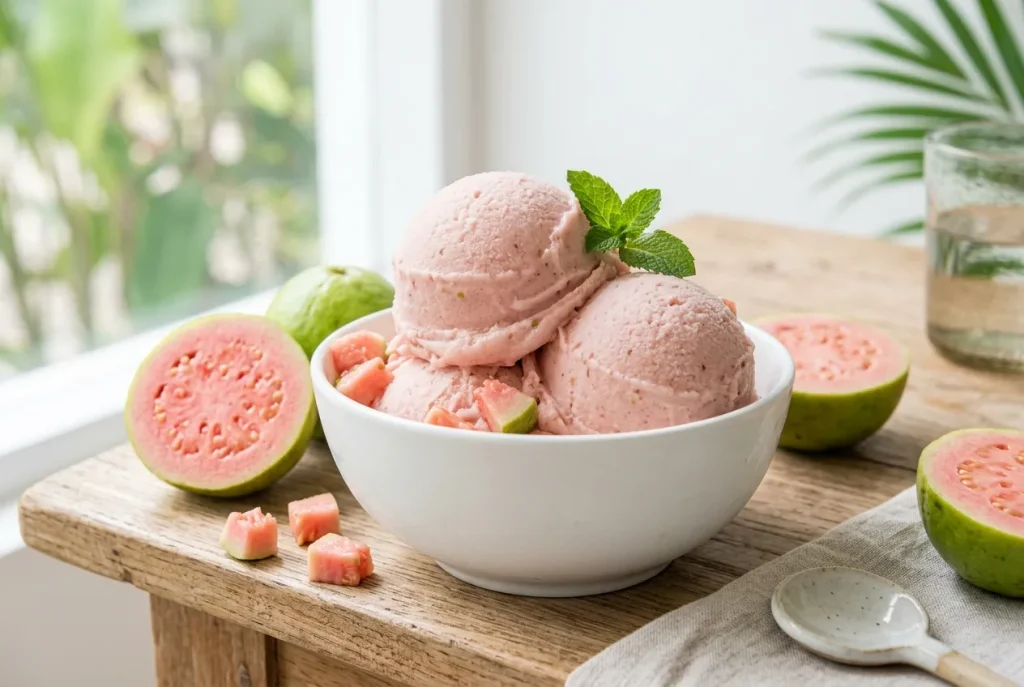
Remove the homemade guava ice cream from the freezer and let it sit for a few minutes if it is too firm.
Scoop into bowls or cones and serve immediately.
Tips for the Best Guava Ice Cream
Use ripe guavas. Choose guavas that are fragrant and ripe for the best natural flavor and sweetness.
Strain the mixture well. Guava seeds can be hard and unpleasant in ice cream, so don’t skip this step.
Use full-fat dairy when possible. Fresh cream and whole milk help produce a richer and creamier texture.
Don’t skip the second whipping step. Beating the partially frozen mixture helps make the finished ice cream smoother and less dense.
Store it properly. Keep the ice cream in a tightly covered freezer-safe container to help prevent ice crystals from forming.
How to Serve Guava Ice Cream
Serve this creamy guava ice cream on its own or add your favorite toppings. A little chopped fresh guava, toasted coconut, chopped nuts, or a drizzle of condensed milk can make a simple scoop even more special.
It also pairs beautifully with cookies, cake, or a warm fruit dessert.
How Long Does Homemade Guava Ice Cream Last?
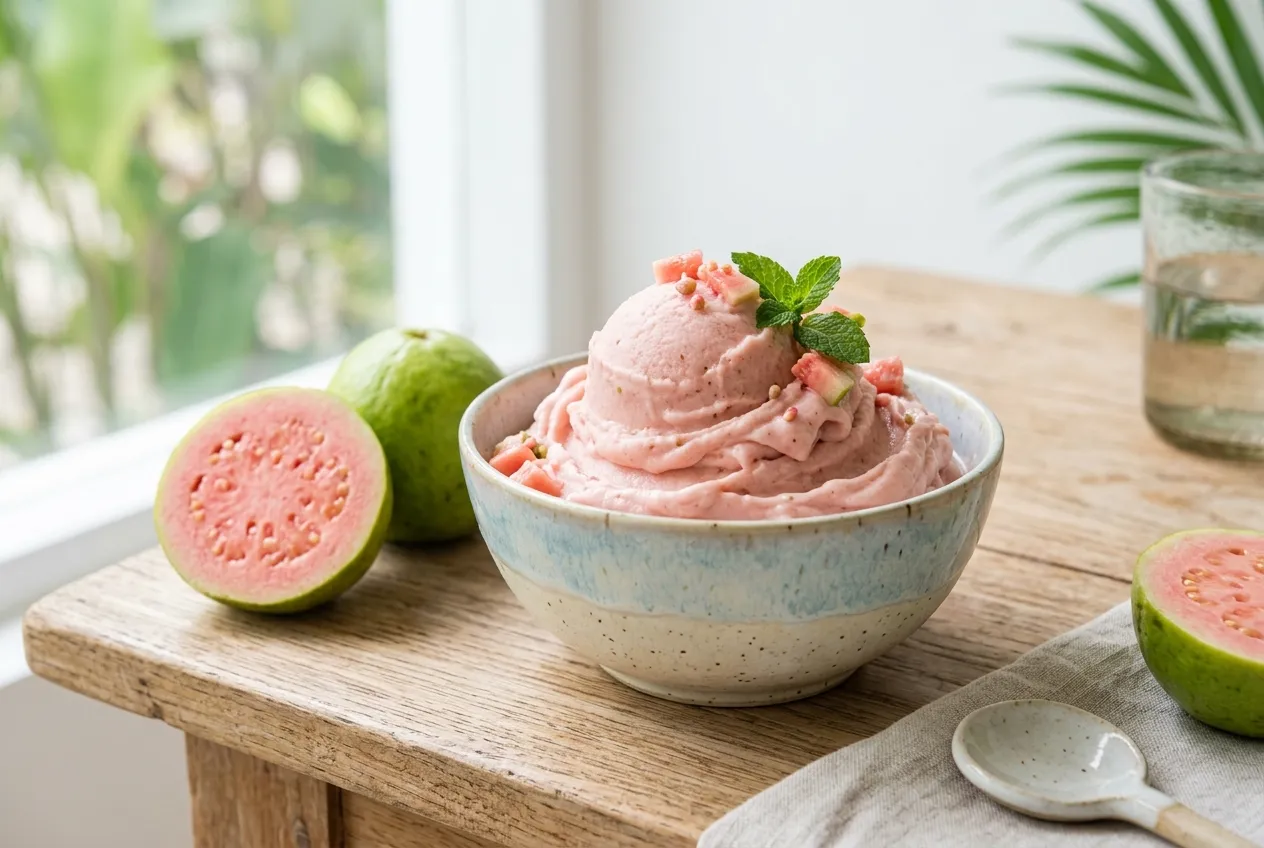
For the best flavor and texture, enjoy the ice cream within 1 to 2 weeks when stored in a tightly sealed freezer-safe container.
Keep the container well covered and avoid repeatedly leaving the ice cream at room temperature and refreezing it, as this can create larger ice crystals.
Frequently Asked Questions
Can I make guava ice cream without an ice cream maker?
Yes. This recipe is designed to be made without an ice cream maker. The mixture is blended, frozen, and then whipped with an electric mixer before being frozen again.
Do I need to remove guava seeds?
Yes. Guavas contain many small, hard seeds. Straining the blended mixture removes most of them and creates a smoother ice cream.
Can I use frozen guava?
Yes. Frozen guava can be used, although ripe fresh guavas will usually provide the best flavor. If using frozen fruit, allow it to soften enough to blend properly.
Why do I need to beat the ice cream after freezing?
The second whipping step helps break up ice crystals and incorporates air into the mixture. This gives the homemade guava ice cream a lighter, creamier consistency.
Can I make this recipe less sweet?
The condensed milk provides both sweetness and creaminess, so reducing it will change the texture as well as the sweetness. For the best result, keep the amount close to the recipe.
Recipe Summary
This homemade guava ice cream is an easy way to turn fresh ripe guavas into a creamy frozen dessert. With just guavas, condensed milk, fresh cream, and milk, you can make a refreshing treat without an ice cream machine.
If you have extra guavas at home, this is a simple recipe worth trying. The fresh tropical flavor and creamy texture make it a delicious homemade dessert for the whole family.
Nutrition Information
Servings: 4
Calories: 562 kcal per serving
Total Fat: 25.9 g
Saturated Fat: 15.9 g
Cholesterol: 92 mg
Sodium: 255 mg
Total Carbohydrates: 72.1 g
Dietary Fiber: 4 g
Total Sugars: 67.9 g
Protein: 13.3 g
Calcium: 433 mg
Iron: 1 mg
Potassium: 580 mg
Nutrition information is an estimate and may vary depending on the specific ingredients and brands used.
You May Also Like
Kiwi Jam Recipe: Easy Homemade Kiwi Preserve